Reading 1820 Blogs Daily!


  • sewing hints
  • Page 2 of 2 ( posts )
March 12, 2020
Everyone’s a Kid Floor Cushions and Toss Pillows (part 2 of 2) from Art and Quilting in Camden

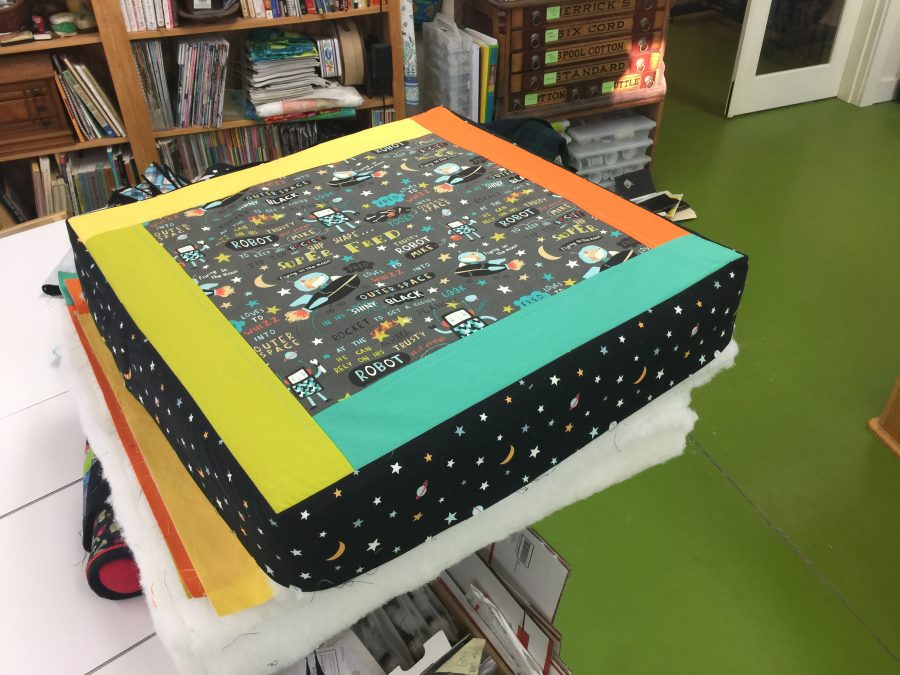
Today it’s time for part 2 of 2 in the “how to make cushions” tutorial! In this image, I’ve sewn the boxing strip–the bit on the edges/sides (black Galaxy fabric from Michael Miller Fabrics, Spring 2020) to one of the squares (top and bottom) to make sure I’ve got the fit right. Looks pretty good! The top on this one is the SuperFred fabric in gray (with this fun fox named Fred and a robot named Mike). Those glorious solids (SWOON) are part of the Cotton Couture collection. Colors are Acid (left), Yellow (top), Apricot ...

read more
March 9, 2020
Everyone’s a Kid Floor Cushions and Toss Pillows (part 1 of 2) from Art and Quilting in Camden

Today’s projects are floor cushions and toss pillows from Michael Miller’s adorable new fabric line, SuperFred and Space Pals. As soon as I saw them I knew I’d love to make some floor cushions for my daughter-in-law’s Kindergarten classroom! You can find part 2 here as of March 12, 2020.
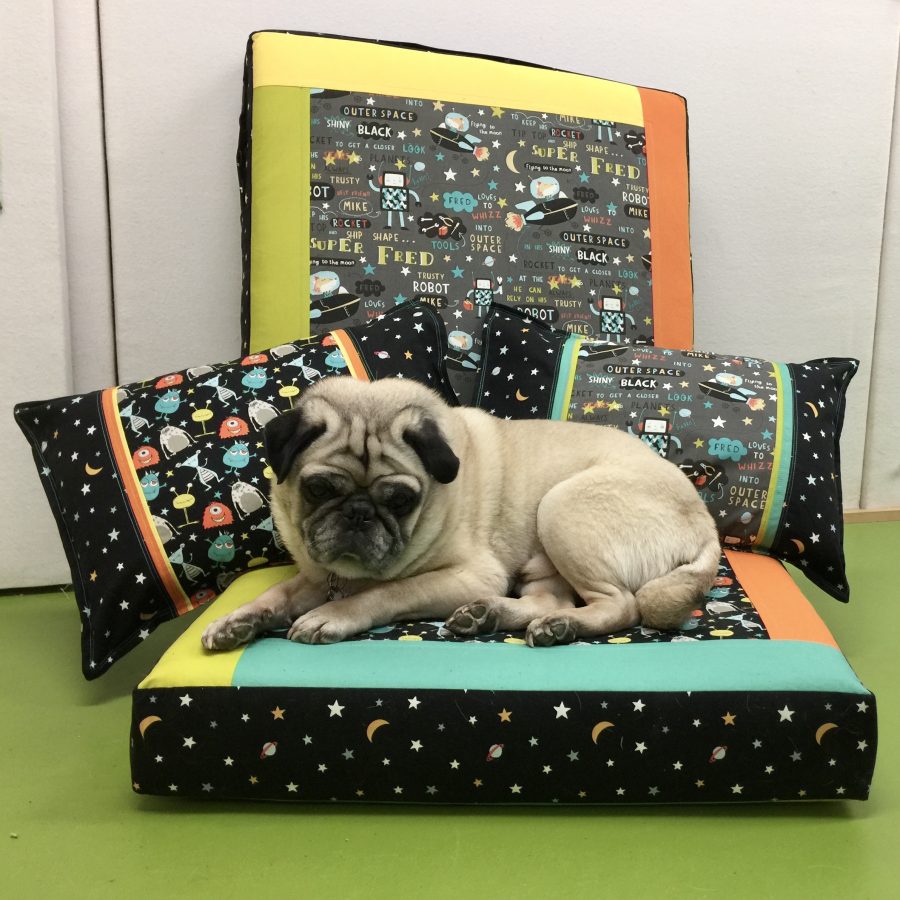
Pigwidgeon was asleep in front of the wood stove but allowed me to move him to another comfy spot to be my model. I am a Michael Miller 2020 Brand Ambassador for 2020, for which this is a monthly project. I’m also a Janome Artisan ...

read more
February 23, 2020
Rockin’ Retro Apron, Part 3 from Art and Quilting in Camden

Today we’ll wrap up the last steps in this fun apron. Get ready to make a Kitschy Cocktail wearing the cutest apron ever to cover a frock. Enjoy a nice sip, preferably with a little paper umbrella! Make mine a pina colada, please!
For the blogpost for Part 1 of this pattern, click here.
For the blogpost for Part 2 of this pattern, click here.
To download a Free-in-2020 PDF pattern with ALL the instructions and images, click here.
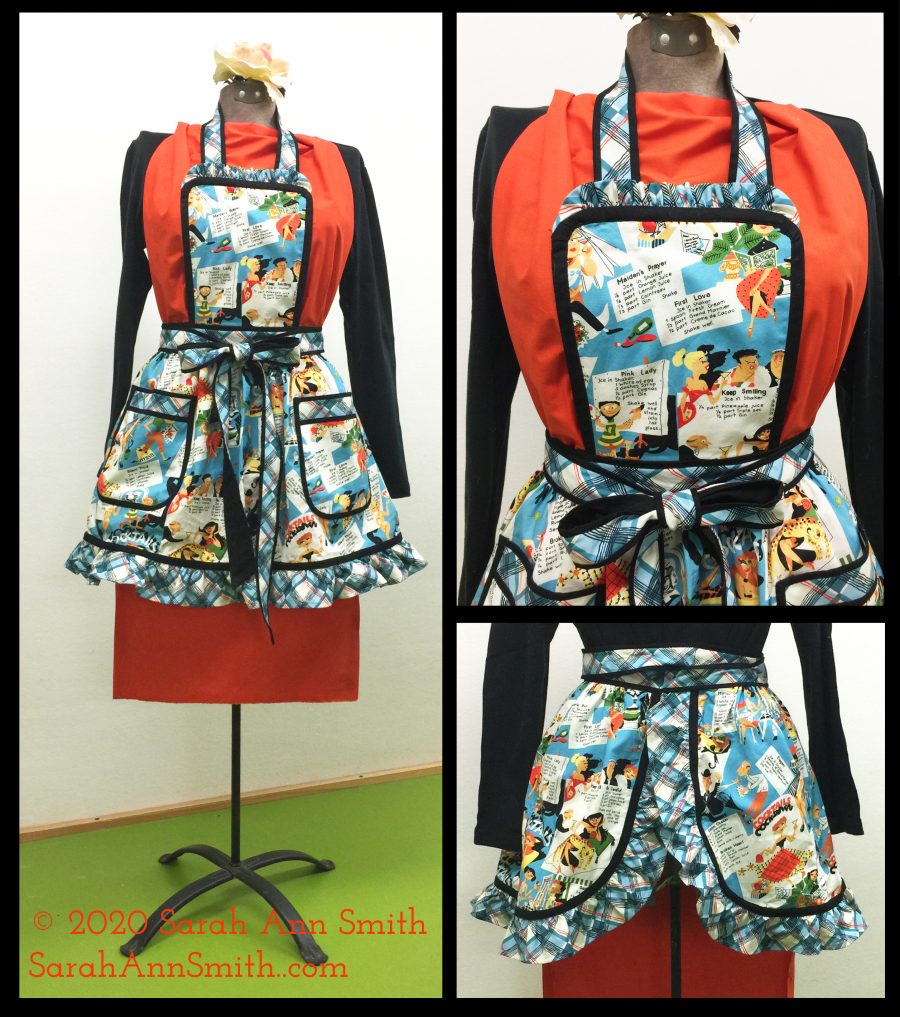
The Rockin’ Retro Apron in Kitschy Couture by #MichaelMiller Fabrics. The fabric was provided as part of the Michael Miller ...

read more
January 23, 2020
When to pre-shrink! from Art and Quilting in Camden

Over the past week to two weeks, I have been working on ….sit down and prepare yourselves for this… a **pieced** quilt. Yes, me. A very simple pieced quilt, but nonetheless.
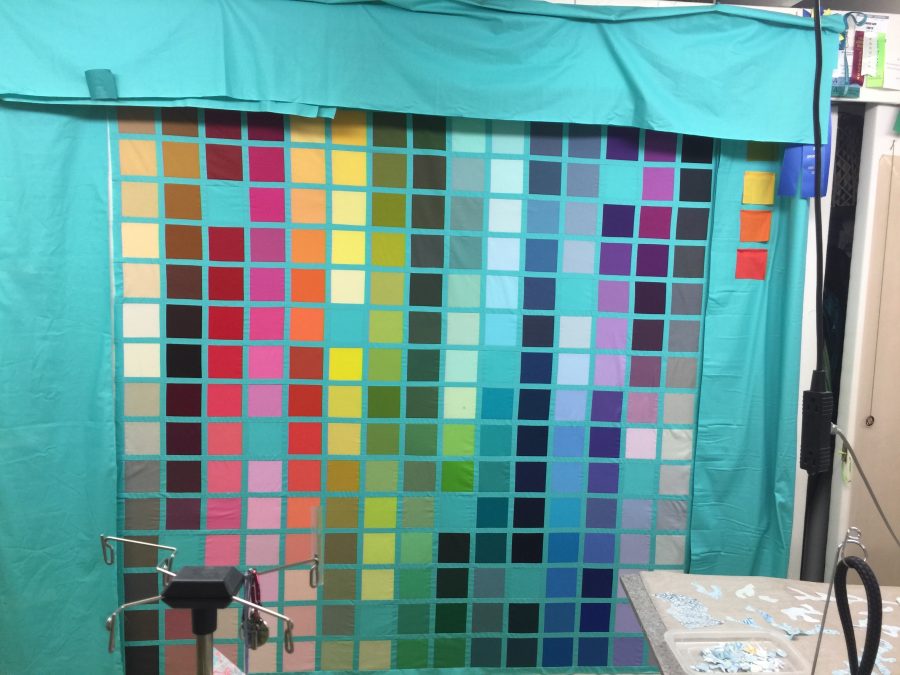
Eye-candy…my 214 colors, test-driving super wide borders with possible squares or rectangles. I’m going with nothing to distract from that glorious grid of color. Hopefully the quilting will make the wide borders look good. Want them that big so they will fit on a king size bed–we’ve got a queen but the pug takes up a ridiculous amount of room for such a small dog ...

read more
December 23, 2019
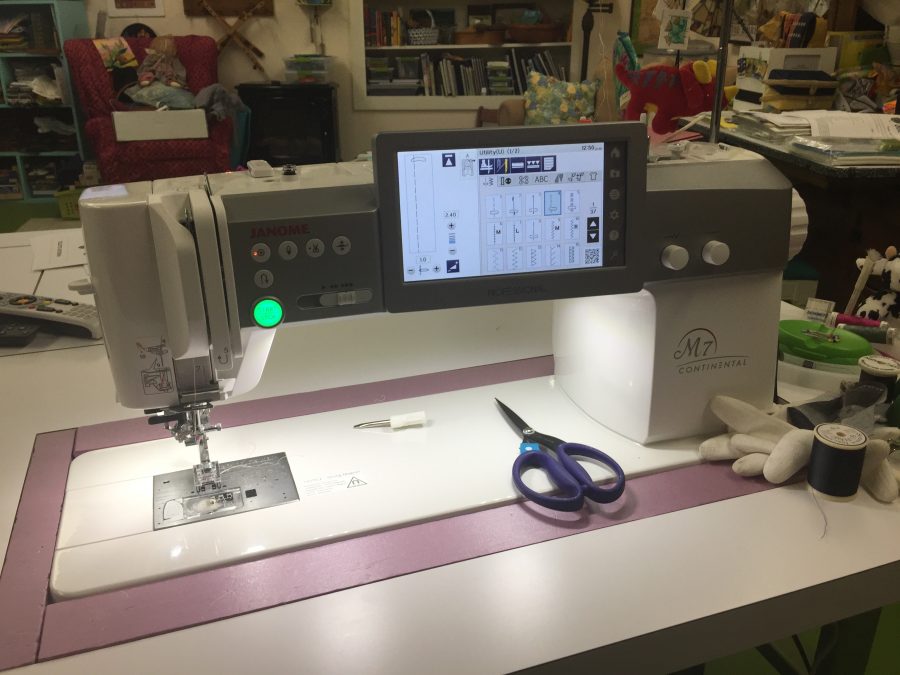
The BRILLIANT new Janome M7Continental produces A York Pinafore for Christmas from Art and Quilting in Camden

Sewing machine companies are always coming out with new models, most of which are incrementally different from before. But every 10-15 years, Janome re-thinks the machine from all angles and comes up with something that is a major leap–and worth considering adding to your studio. The Janome 6600 was such a machine (circa 2004/5), and the new M7 Continental may well go down as one of The Best Sewing Machines Ever (in any brand!), and given the quality of Janome’s machines that is a high standard.
The Janome M7 Continental is a quantum leap in a sewing ...

read more
December 22, 2019
Christmas Bag tutorial and fine finishing tips from Art and Quilting in Camden

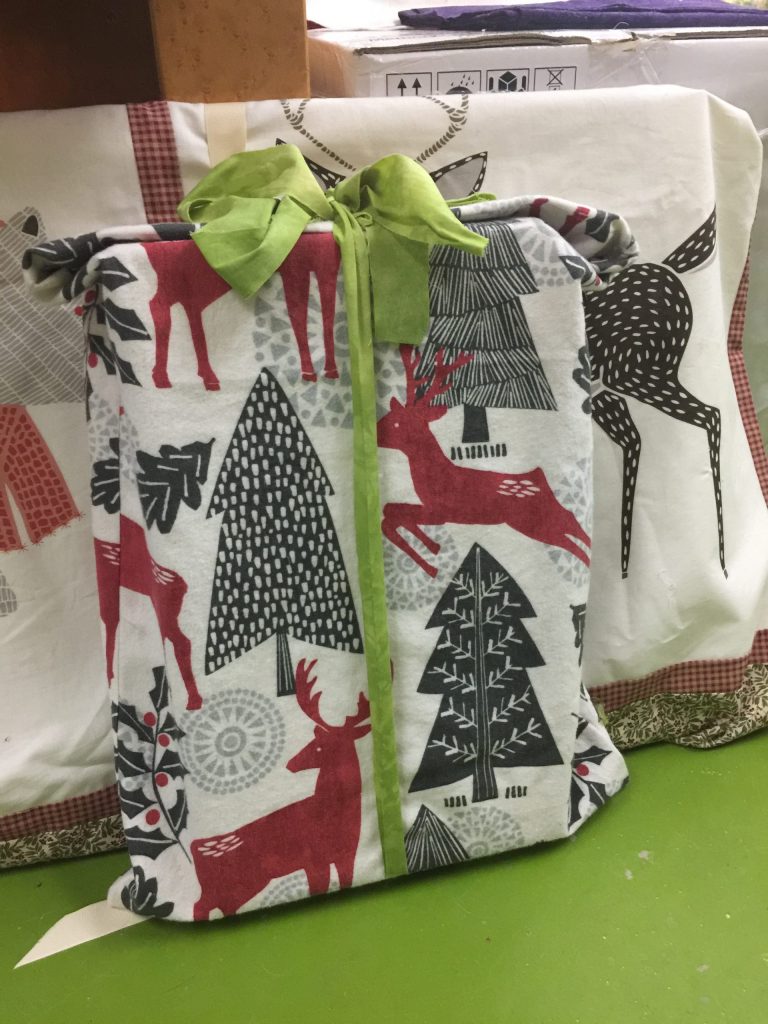
A quick Gift Bag Tutorial–took about half an hour even *with* being fussy! Used leftover flannel, and a trimmed off bit of fabric from a quilt back or edge as the ribbon! Read on….

Sometimes it is possible to whip up a quick something just before Christmas…I’ll have to back-to-back posts (I hope) about sewing for the holidays that include this tutorial on zipping up a quick gift bag and, next, the wonderful York Pinafore pattern from Helen’s Closet patterns.
Last year Shannon Fabrics sent me a number of different fabrics including Cuddle and Luxe, fleece ...

read more
November 18, 2019
sewing Saturdays sleeves and half square triangle blocks the easy way from Not Afraid of Color

Welcome to Sewing Saturdays... my weekly round-up of studio time. When I finished this year's Halloween quilt (the one with owls) I took a few pics of how I attach a sleeve in the binding process.

If it's to go to a competition I make sure the finished opening is 4" exactly. This time I just cut the sleeve fabric about two inches less than width of quilt, and 6" (not 9") wide.
Hem the two ends where the hanging rod will slide through.
machine baste the top edge to the quilt before binding goes on.

Then I ...

read more
  • sewing hints
  • Page 2 of 2 ( 27 posts )