I've made much progress on this project this month. Between bouts of rain and then very hot weather and appointments .... this is my progress so far.
The beginning of this month saw just nine blocks done.
I've made much progress on this project this month. Between bouts of rain and then very hot weather and appointments .... this is my progress so far.
The beginning of this month saw just nine blocks done.
Latest kid QAYG. Batting squares aland backings were already cut and counted, kid-like prints were all in one place. Life is good. It went together in about one month.
A little closer. I made 4 blocks at a time, wanting each group of 4 to look similar to each other. There was NO effort to "matching" seams perfectly. This quilt was so much fun to make ... fun for ME! Each unit of 4 features at least one a cute kid print. Perfect for games with cousins, siblings, parents, grannies, etc. And some of the fabrics are from BLOGGERS!
As promised here is the tutorial to make mini stocking ornaments.
This tutorial will make three ornaments. Please read the entire tutorial before proceeding.
1. Print the stocking template file at 100%. Trace on to a light cardboard (cereal box works fine) and cut out the template. Set aside.
2. On the batting scrap, in the center, lay ...
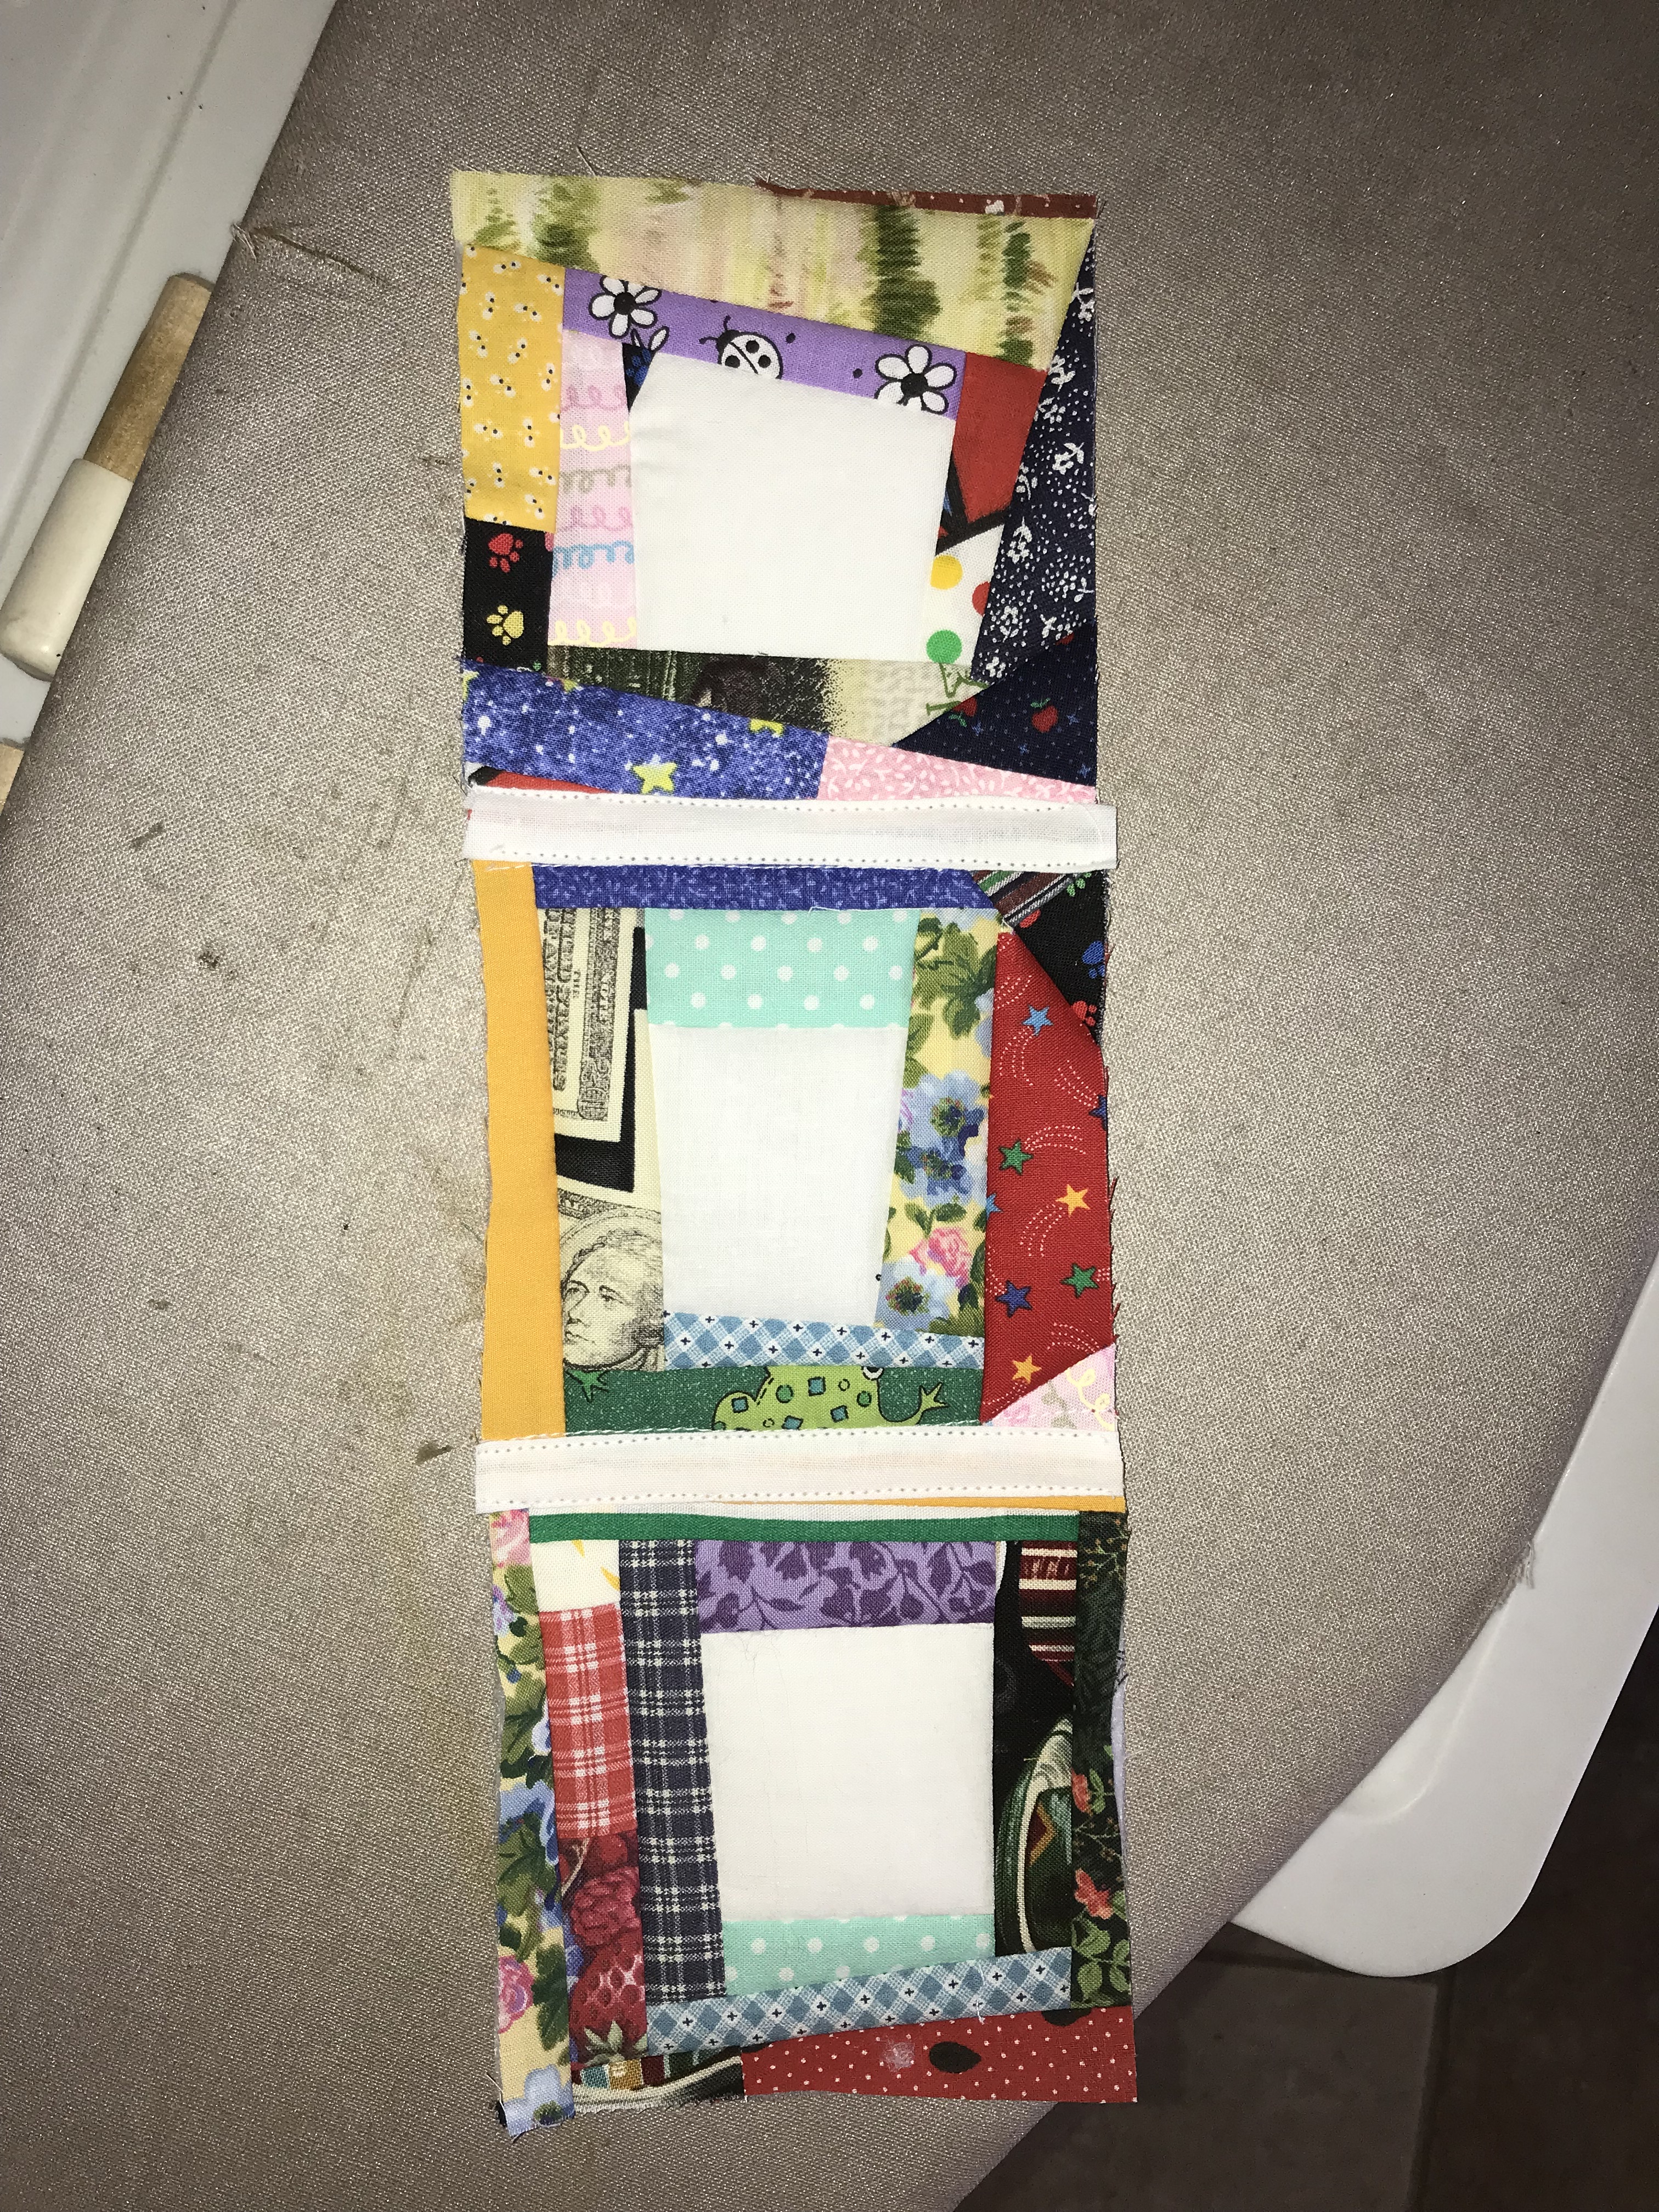
read moreThis is more exciting than just sewing 80 blocks and trimming them to size. I had 3 rows sewn together and couldn’t wait to start connecting the rows.
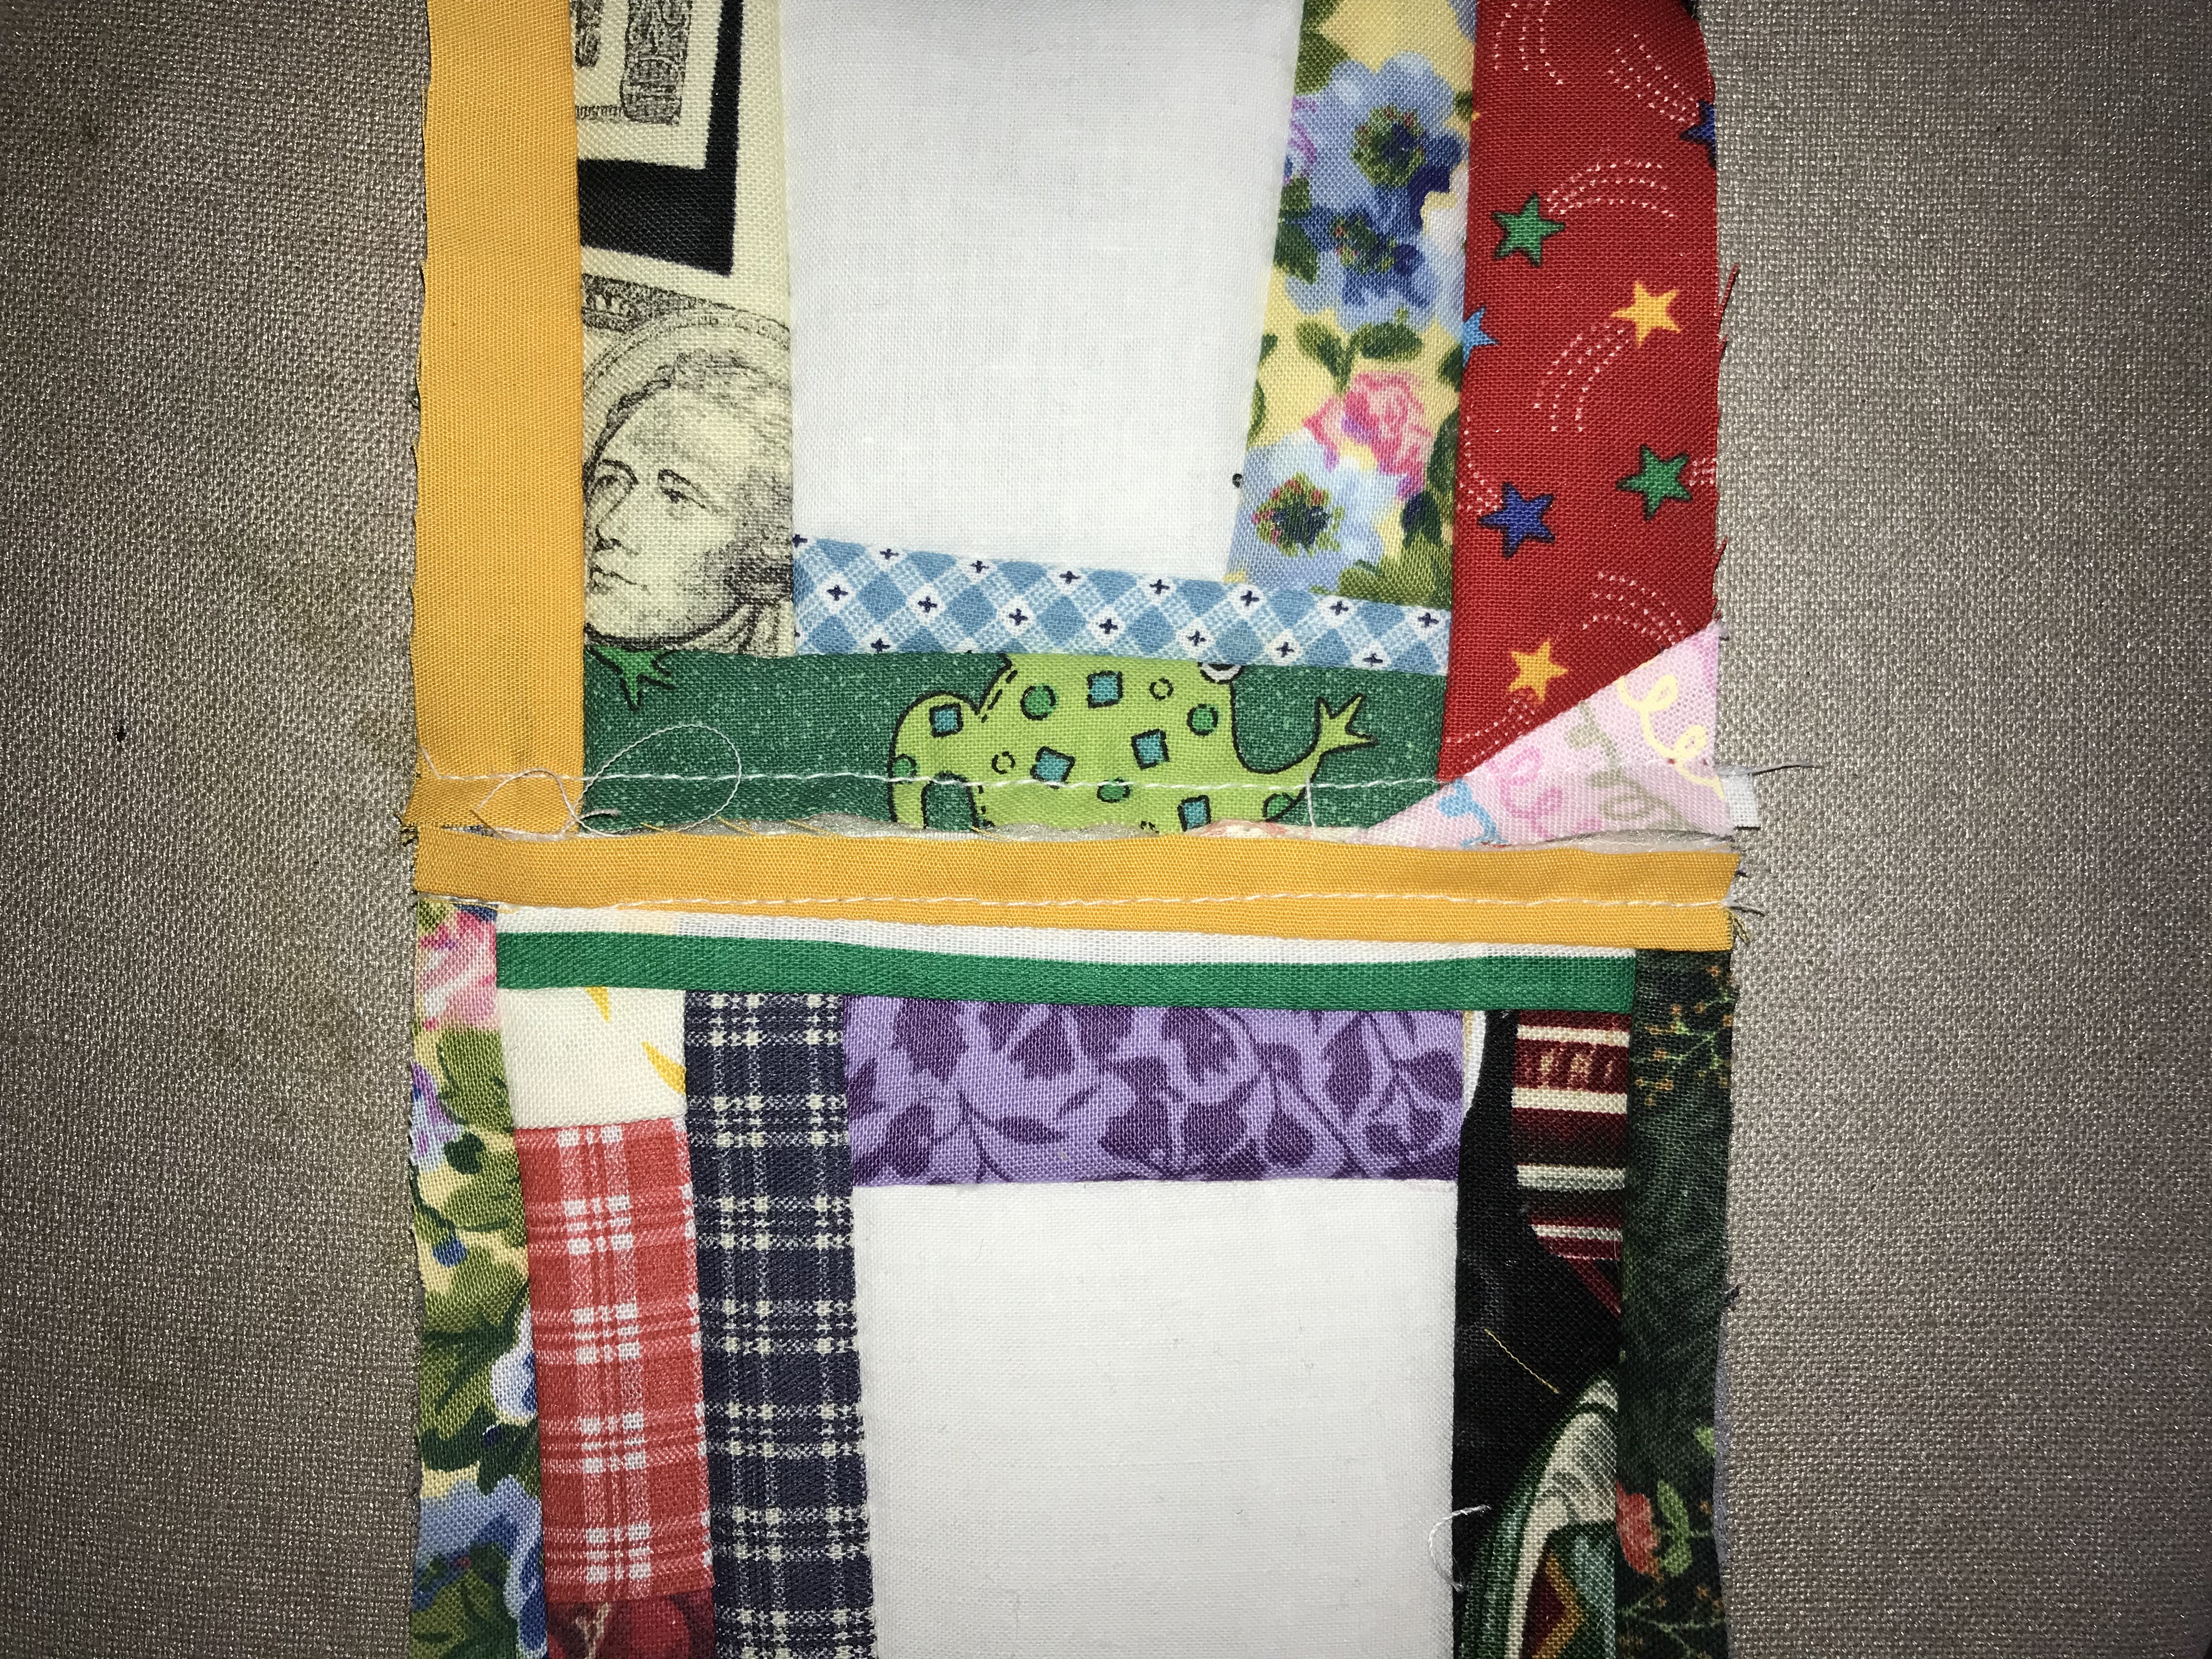
I’ll try to explain the process. I didn’t make this up; I found instructions on several blogs. This is not the only way to connect the QAYG blocks, but it’s the way I chose.
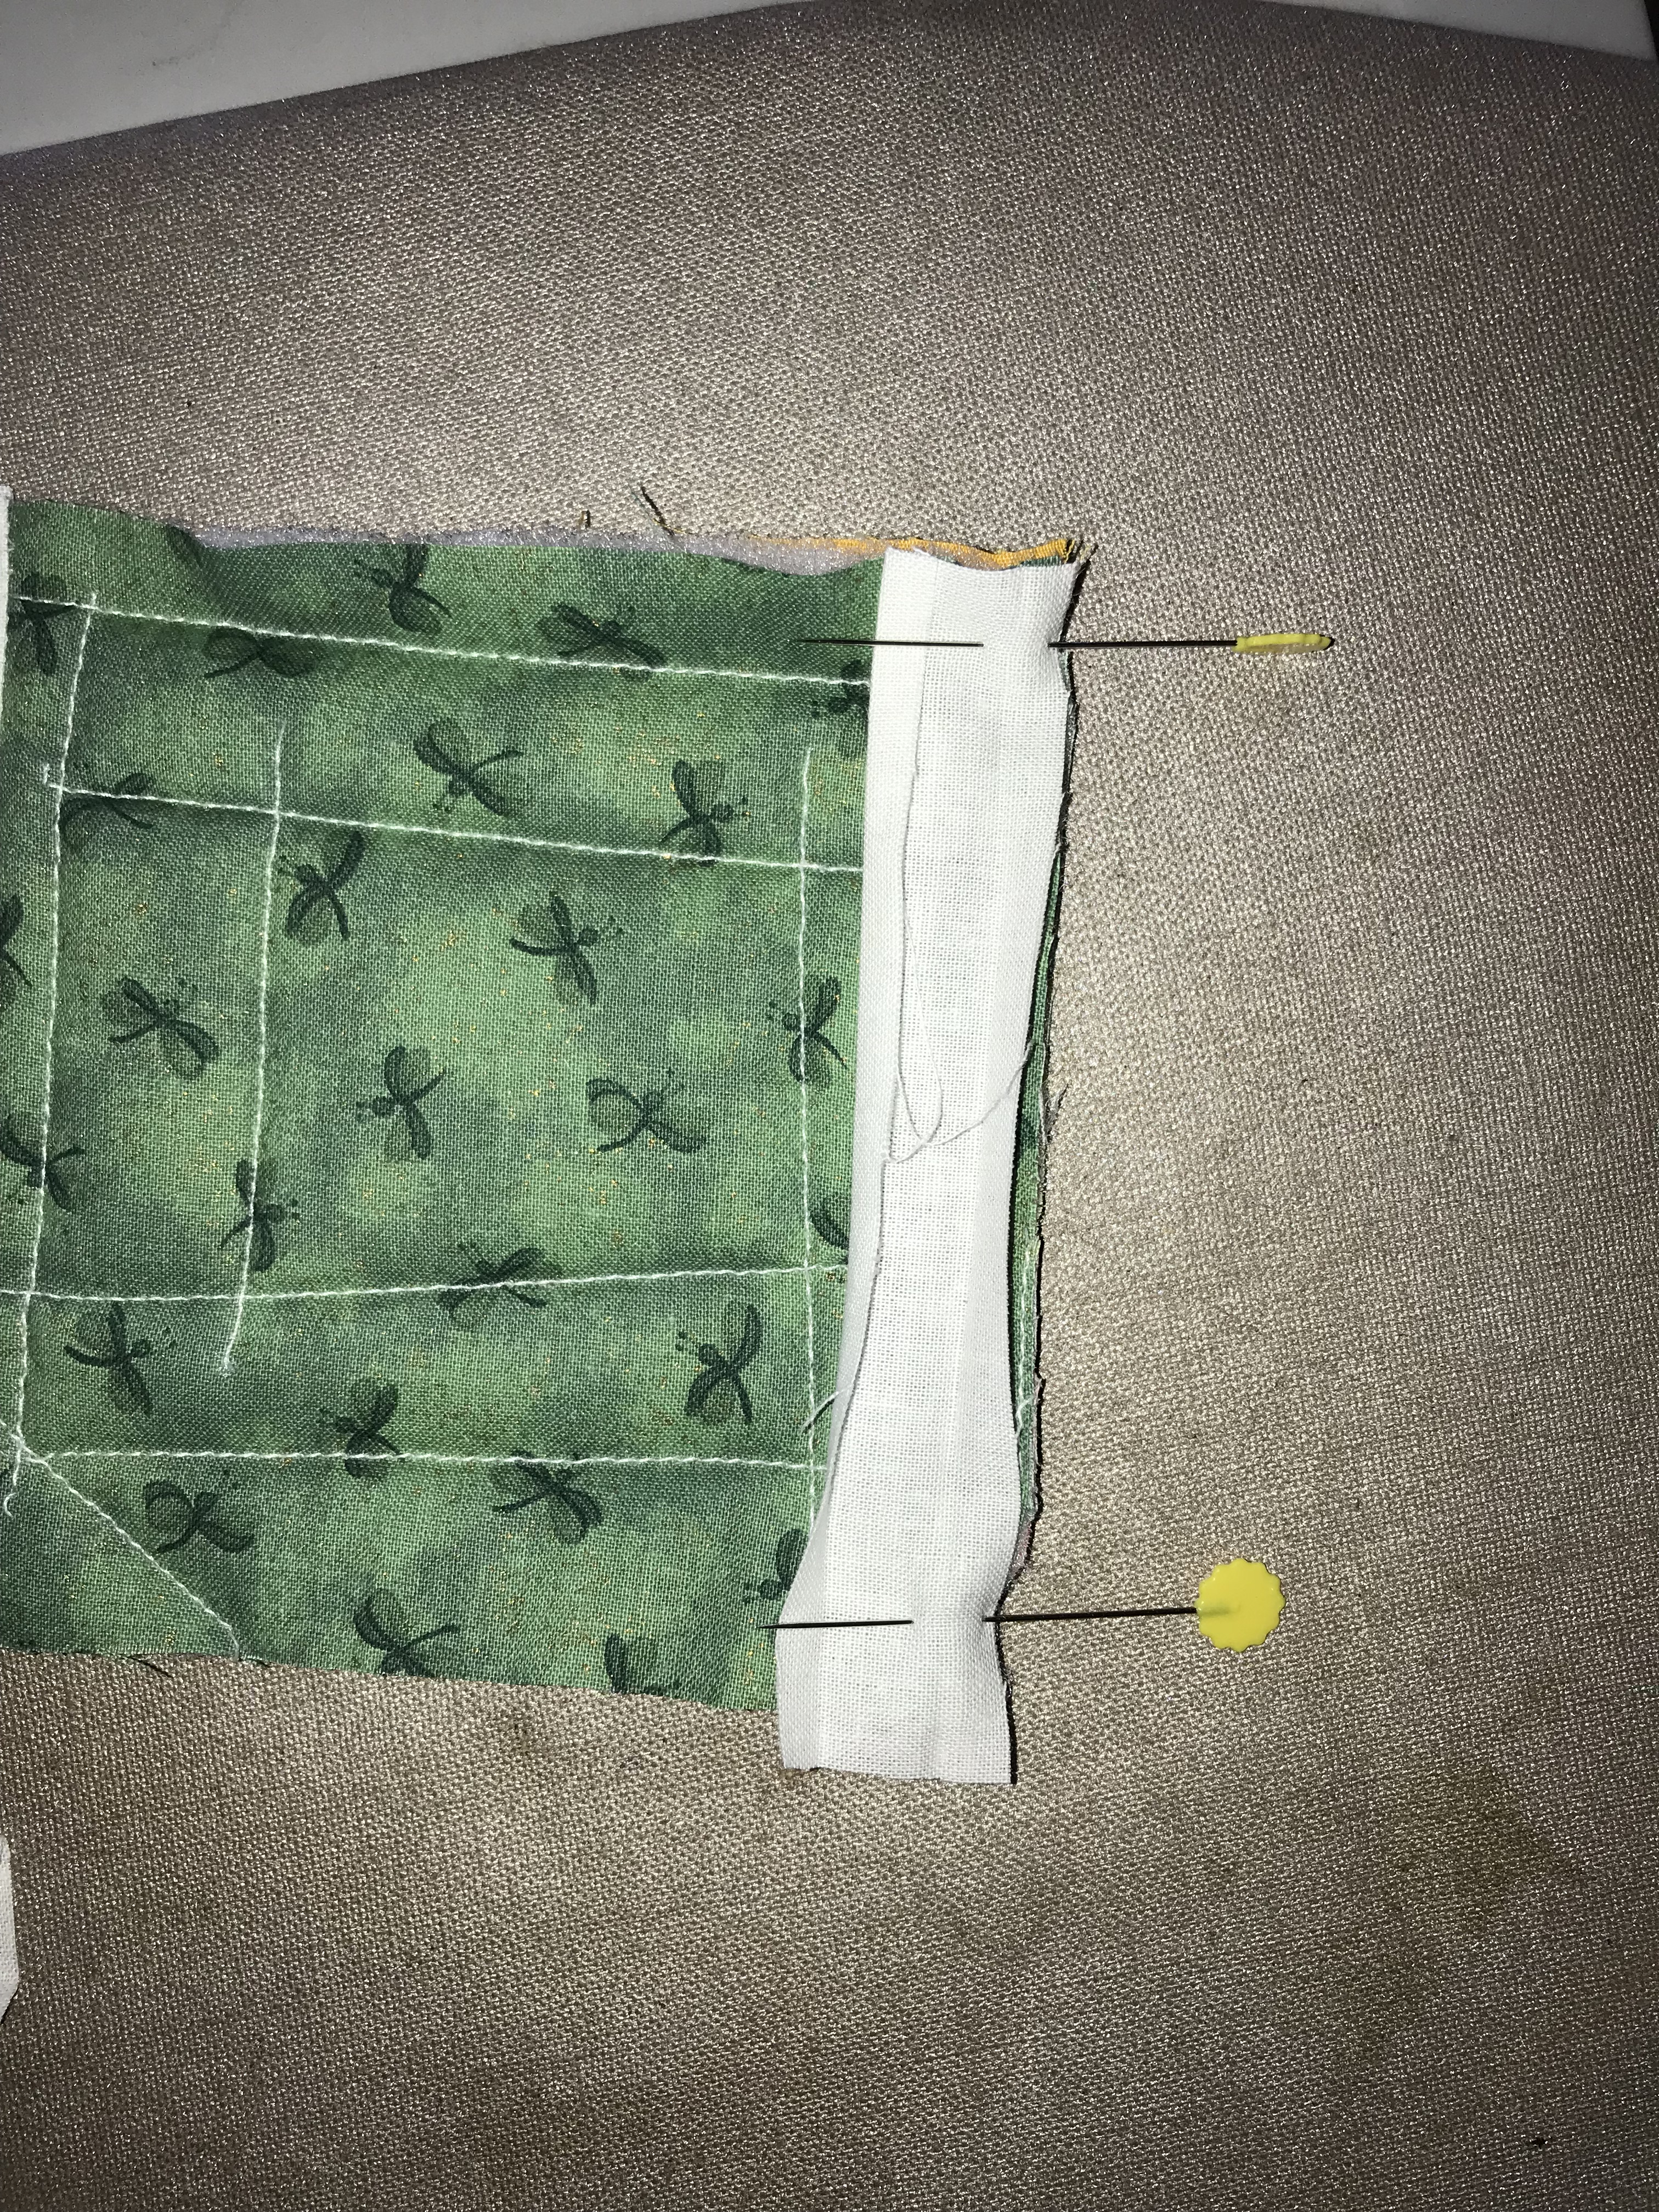
First, I sewed the binding strip to the one side of one block, right sides together.
I stitched along the fold line. Next, I flipped the next ...
read moreI said this was a great method for putting in just a few minutes here and there. It is also fantastic for being portable.
I live in Missouri but I’m originally from Michigan. I needed to go back for a visit and didn’t want to lose 7 or 8 sewing days, so I brought it along. I managed to fit everything into two smallish boxes, plus the small portable sewing machine.
I could have brought it into the motel room where I stayed overnight on the way there and on the way back. I decided I was too ...
read more
Hello there!
How are you? Thank you for stopping in especially after my unexpected blogging break the last two weeks of July! After deciding to fix my other knee,
I've been packing in as much time with family, friends and grandbabies as I can. Hence, there's been little time for online activities. More about that in the Faith, Trust and Breast Cancer section below.For now, let's move onto the post!
______________________________________________________
On the quilt-as-you-go baby quilt I have completed the first row. Actually, it was completed more than a month ago, I just have found no time to write for the blog. I was trying to take a trip to Michigan to visit family in early June, but life happens and the trip had to be put off. One great thing about preparing for the trip is that I could use my mother’s sewing machine for this project. It is just about the most portable baby quilt project I have done. I started cutting the pieces I would need for ...
read moreI am loving one aspect of this project – that I can make a little progress in short bursts of time.
Earlier this month I worked a bit on the quilt blocks. I cut blocks for backing, and also the white centers of the blocks. I’ve decided to lay out the backings alternating a color print with the white backed blocks, in a sort of checkerboard design.
I put a few of the completed blocks together using the binding. Single fold binding gives finished edges where I sew it down. Here are some progress photos.


I’ll do a row ...
read moreI’m calling this a stringy baby quilt. I chose the “Trash to Treasure” quilt block from my last post. I’m making it on a smaller scale of course. I decided not to cut the block into quarters and sew them back together, because I’m sewing it with backing and batting together to make a prequilted block.
I began with a square of white fabric, 2 1/2 by 2 1/2 inches. I cut a piece of batting and a piece of fabric for backing at 5 by 5 inches. I centered the small square over the ...
read moreSpring is here and summer is on its way and with them comes beautiful, warm weather! It’s getting harder and harder to want to spend your days completely indoors when you could be out soaking up the sun.
With hand work, you’re never confined to any specific space – the world is yours for the taking (and making!). Get outside and create to your heart’s content!
Quilt-As-You-Go (QAYG) and English Paper-Piecing
Both QAYG and English Paper-Piecing are perfect ways to continue stitching up beautiful projects wherever you roam! Take your pieces on the go, all you need are ...
read moreOnshore Breeze
August 2020
Fancy Fox
July 2020
Persistence
July 2020
“Never lose hope. Storms make people stronger and never last forever.” ― Roy T. Bennett
If I'm going to be in a mental frenzy state, due to grief, I may as well do something constructive while in this unwelcome mental process. This is what I made this morning in a few hours. I had the batting cut and many of the pink fabrics already in one box. There is a bun in the oven in my husband's family, gender still unknown, but in the meantime, I'm having a pleasant morning, making this girly quilt. This will be QAYG, with white/or busy pink strips joining the blocks, 6 x 8, 48 blocks ...
read more